-40%
1975 -1979 Ford, Lincoln, Mercury Steering Wheel Horn Pad Wood Grain Repair Kit
$ 20.59
- Description
- Size Guide
Description
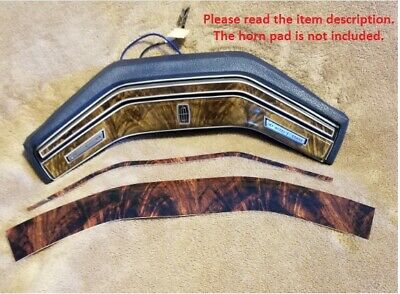
The horn pad assembly and components, Before and After examples, are pictured for reference and to illustrate the restoration process -They are not included. For sale here are the two decals only, in order for you to restore your parts.
I will also do the restoration for you if you prefer.
The first picture shows typical color fading after 40 or so years, even with an assembly in good shape otherwise. Often the lower woodgrain sections can be cracked and crumbling, and this kit will solve that problem also.
This is a two-piece high quality decal kit for restoring the appearance of the 1970's Ford family steering wheel horn pad wood grain panels; the thin horn button above, and the larger panel below that surrounds the cruise control buttons (also works fine for cars without cruise control).
These steering wheel horn pads were used on several Ford / Lincoln / Mercury cars and Ford trucks from 1975 - 1979. The wood grain pattern for the kits is copied from the 1977-79 Lincoln Continental (Town Car, Town Coupe) and Mark V original patterns, so is only technically "correct" for those cars. The pattern in called Majestic Walnut.
The material is a 3M vinyl that is used for exterior automotive wraps. It is designed to be UV-fade resistant,durable, and flexible, able to follow most any shape. It has just a bit of stretch capability without distorting that makes it easy to fit exactly to flat or contoured surfaces. It also has just the right amount of light reflection. I trialed several different materials and this one is excellent for the application.
The pictures show the process in sequence. There may certainly be better techniques, and I am always open to feedback!
1. The horn pad is removed from the steering wheel with two screws removed from the back side, then unplug the electrical connectors.
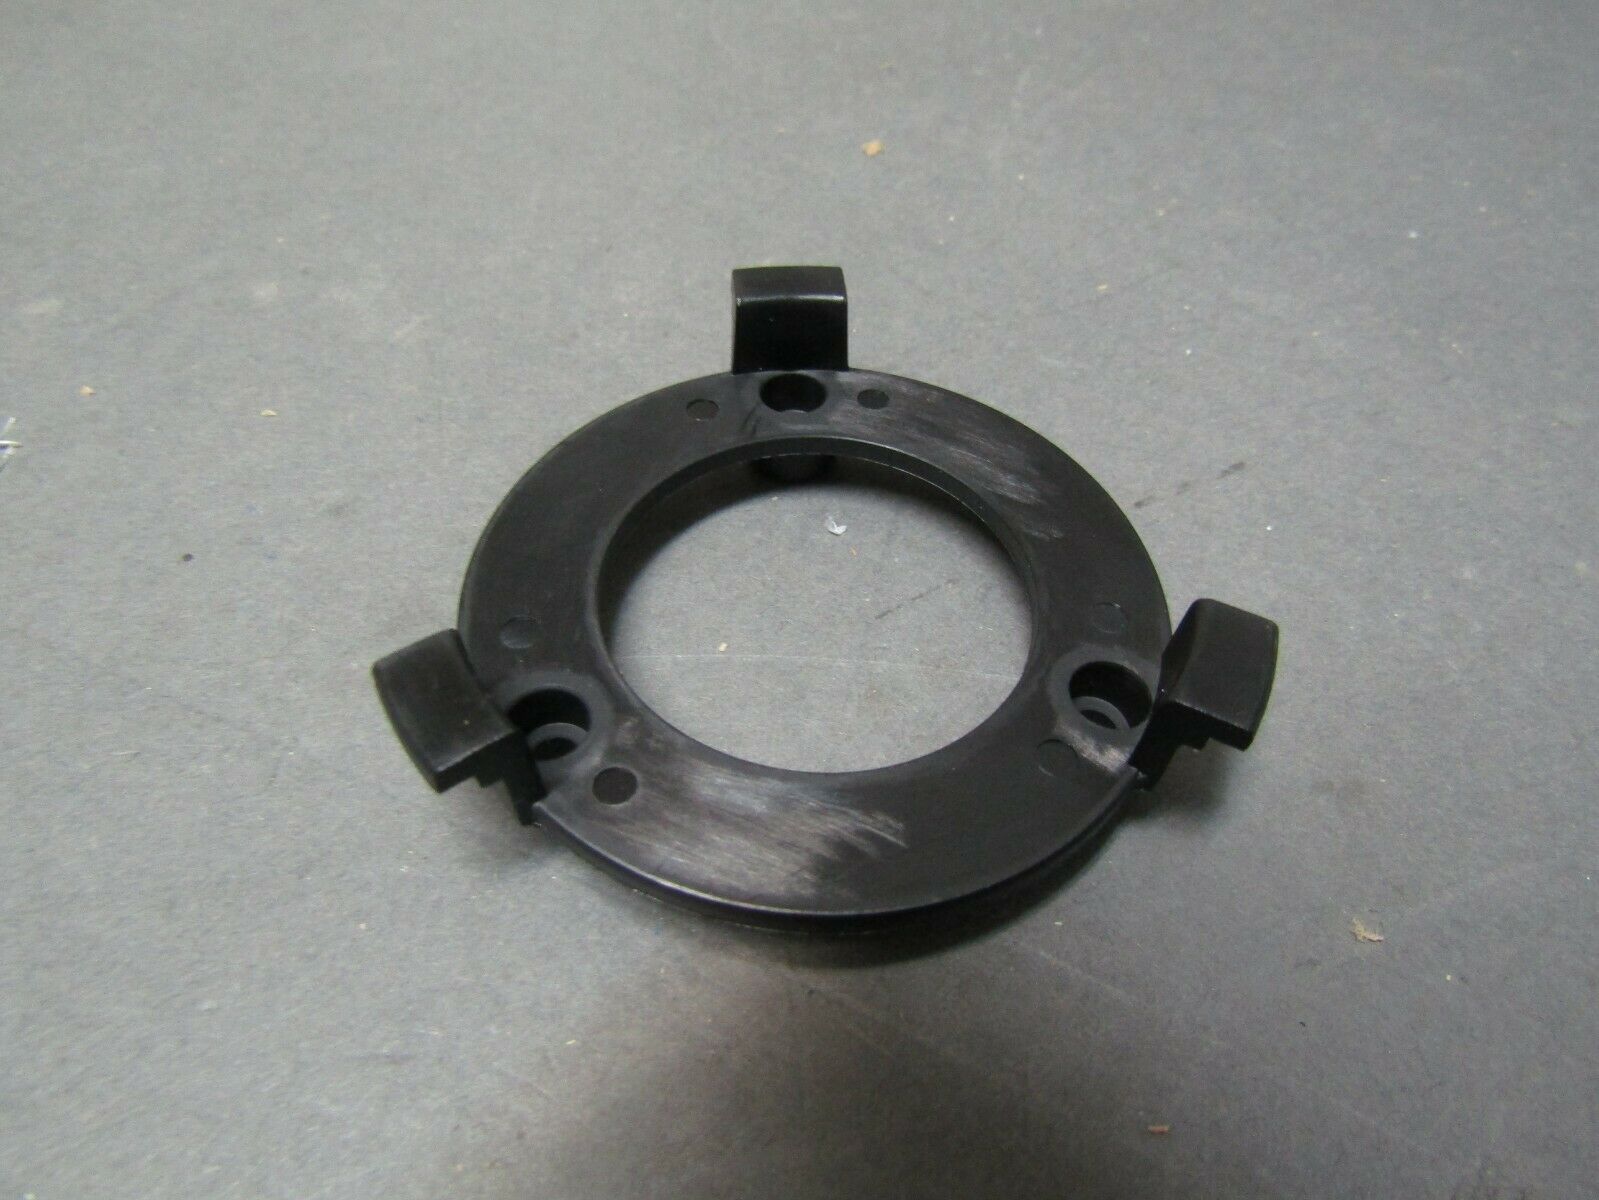
2. Remove the cruise button surround by removing the four 5/16" speed nuts from the posts and gently pushing it forward and threading the wires through the hole in the center. Gently pry back the small plastic clips holding the cruise buttons in place and remove that complete assembly.
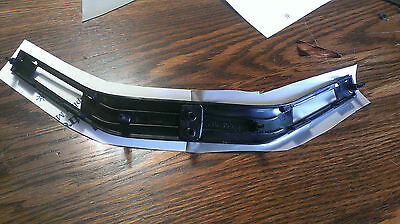
3. Assuming the wood grain panel on your horn pad has chips, pieces missing like the one pictured, you'll have to remove that material completely from the plastic base, and this is IMPORTANT - get all the residual glue off and avoid gouging the plastic. You need to have as smooth a surface as possible. The overlay is very thin and will let show through any bumps or imperfections left underneath. If your panel is intact and maybe just faded and/or has small cracks, you can apply the overlay directly to your piece instead. For a truly perfect smooth surface, consider using a plastic primer/filler and then sanding down. There are sometimes small depressions on front for example, where the mounting posts are located. See pictures for an example where the rectangular openings have been filled for the cruise button tabs also.
4. Remove half of the backing from the larger decal and position the base on top, centered in place, so that it is sticking to the top part of the base well enough to stay while being handled a bit. The shape of the base decal will fit perfectly centered when applied in 3D, with just a bit of excess to trim away as it is being applied. You want just enough to wrap over the edges firmly to the backside.
5. Clean the surface with rubbing alcohol and carefully start pressing the overlay onto the base's front face surface, starting at the center and working outward to the end. Then remove the remaining half of the backing material and repeat for the other side.
6. It helps to cut small snips into the excess border material, every inch or so around the perimeter, to make folding the overlay over the edges easier. Continue to wrap the edges over to the back side, pulling just a bit as needed to get wrinkles out.
7. Use an exacto knife or similar to cut "X" shapes into the center hole for the emblem, and the two cruise control buttons, corner to corner, and fold that material onto the back side also. Now you have a nice wrapped edge all around, contoured to the exact shape, that will not peel away.
8. Reverse steps to assemble the cruise buttons to the base, and the base to the horn pad.
9. Lay the horn button overlay in place on top of the old one after making sure the surface is clean (alcohol again), get it perfectly centered and then tape it down in place just off center. I use electrical tape - it holds strongly enough and releases nicely. It might look like the overlay is a millimeter or two short of reaching the edge - don't worry, it isn't, hang in there.
10. Remove half of the backing and start applying, again working from center outward while holding a bit of tension in the overlay with one hand and using your finger of the opposite hand to press and guide around the corner and toward the end. You will find that the edge reaches perfectly, and if you were pulling a little harder, could even come out slightly long in which case simply trim to fit.
Congrats! Your steering wheel looks great again :) Note that the grain pattern for the lower section and the horn button are aligned, just as with the original.
Click on "See other items" for other woodgrain restoration vinyl decals, original parts from a 28 mile Mark V, and other excellent or NOS Lincoln parts. There are thousands of parts here, feel free to ask about anything for any 70's Lincoln. Reducing a 20+ year collection; glass, body, electrical, under hood, interior and exterior trim and moldings, wheels, seats, instruments, mechanical, chrome, lights, knobs...bit of everything.
Any questions, please ask
Thanks!
Perry
